
Photos of Cara Delevingne are everywhere. Literally, everywhere. Unless your completely absent from social media (or you only use this Internet thing for actual news worthy information), you've probably seen her picture here and there. Anyways, what's more fascinating than trying to figure out her last name pronunciation are her eyebrows. Brooke Shields is not her mom.
So, for all of you over-pluckers, take note- your brows should not be an ant trail of a line. My natural brows are, unfortunately, not as thick as Delevingne's, but they span almost completely down to the crease of my eyelid. Thanks, Dad.
If you'd like to see how I thicken up my brows, here is a photo tutorial of my daily routine. Click to continue reading!
Keep in mind, if you're the type of person who likes clean, defined brows- this is not for you. I prefer to keep mine looking as natural as possible.
Also, I have absolutely no other makeup on. Ah!

Step 1. Groom brows with a spoolie (or disposable mascara wand!)
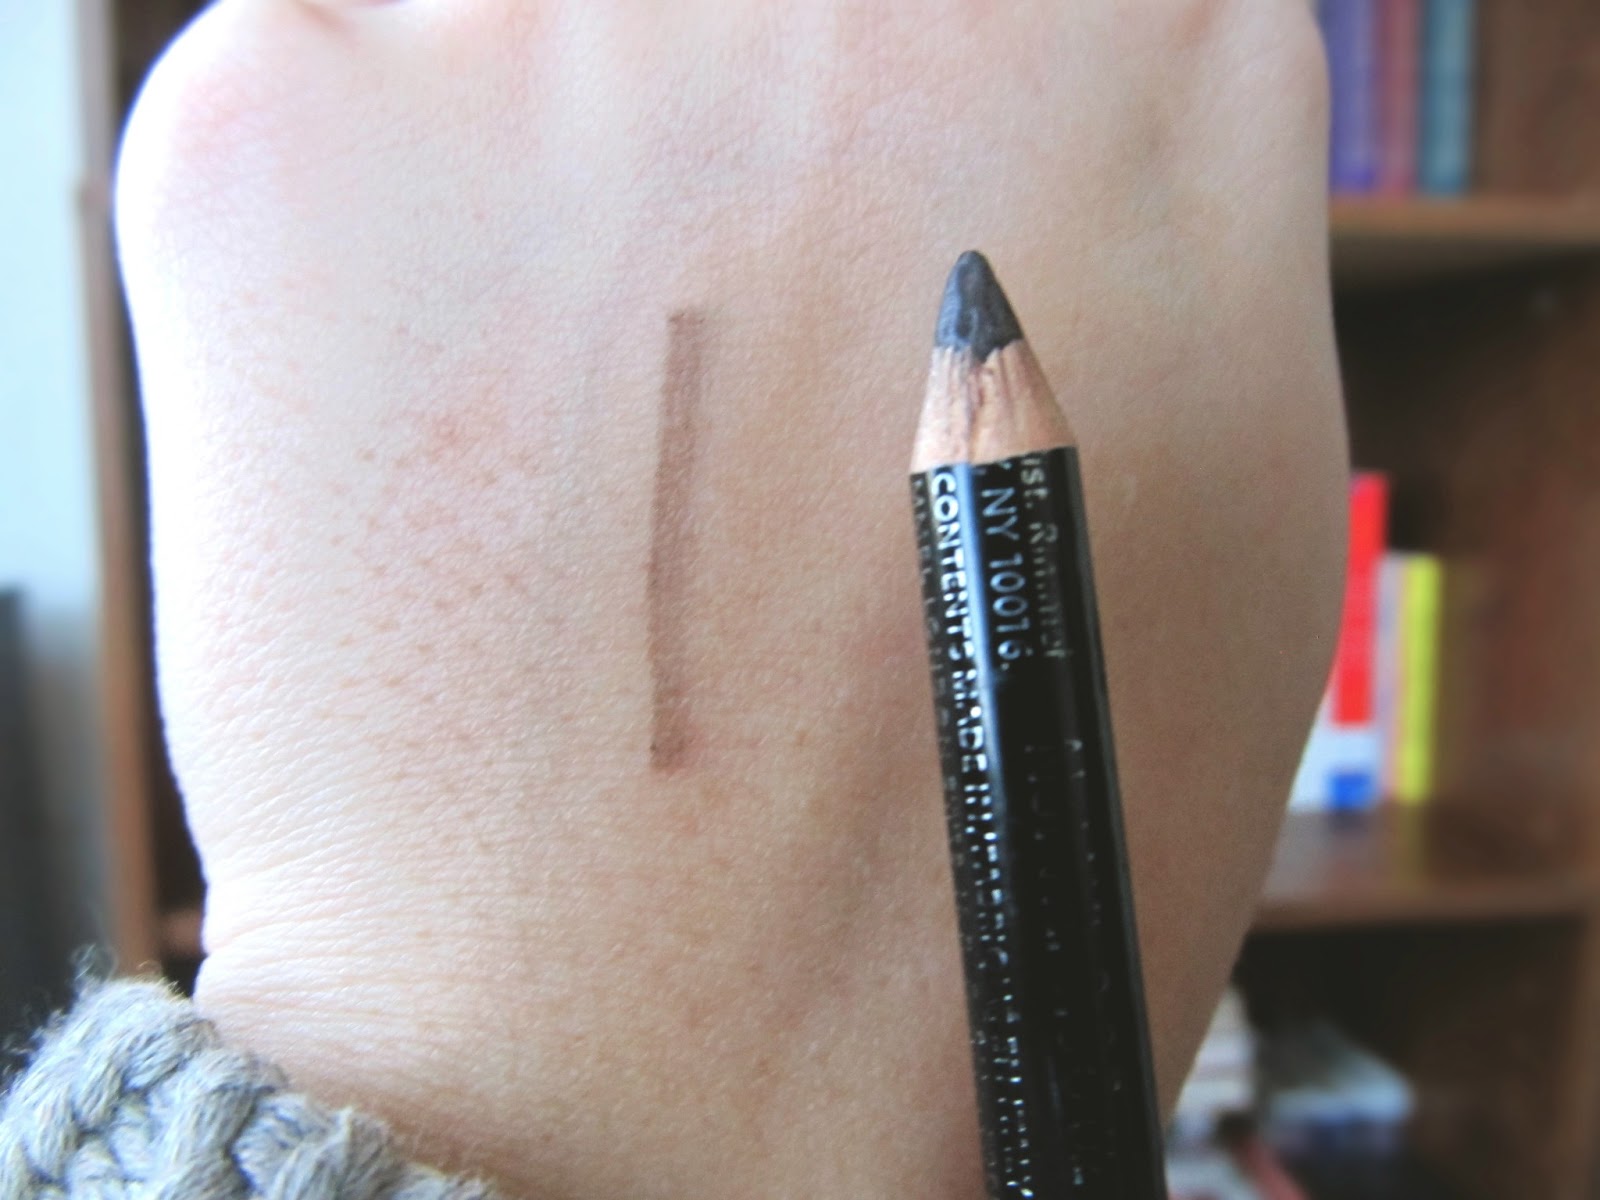
Step 2. Choose a harder, waxier pencil. I use Rimmel Eyebrow Pencil in 004 Black/Brown.
Kohl pencils are too soft for brows. I also don't like using a powder because I think it can appear muddy and flat. Waxy, hard brow pencils allow you more control to create feathery, natural looking strokes. And they stay on longer!

Step 3. Fill in your brows using light, gentle, and feathery strokes.
I suggest starting from the arch so you can decide the shape of the overall brow. Also, the darkest and most defined part of the eyebrow should be the arch. Do this step in a messy fashion, the effect is supposed to be natural, slightly unkempt, and thick. It does not need to be perfect!

Step 4. Comb through brows with your spoolie once again
With a light touch! You don't want to brush and smear away the product, just distribute a bit.

Tip: When combing the product through, brush the hairs outward, upward, and even downward. I find that this helps me see where I may need to add a bit more product and also, it helps give the brows volume (for that textured look versus drawn on look).

Step 6. Touch up any areas if need be!
Try not to "fill in" or create brows where they wouldn't naturally grow. Currently, I'm growing even my little baby hairs at the bottom out, so each week I notice I can go a little further with the pencil. The trick is to just keep it as natural as possible.

Step 7. Brush hairs at the beginning upward
This is key! Brows appear thicker and more flattering when the start of the brow is a bit sparse and pointing up. I barely add any product to this area, if any at all. If your brows don't naturally do this, just create a FEW light, feathery strokes there.


Step 8. Grab a fluffy powder brush
This next part may sound strange, but trust me, it works.

Step 9. Grab a face powder that matches your skin tone or is translucent
The one I use is Rimmel Stay Matte Powder in 004 Sandstorm. This powder is basically translucent on my skin.

Step 10. Push the powder very gently on your brow bone
Sweep the brush lightly over your brow. Remember to place the powder initially on your brow bone, not your eyebrows. This step sets the brows without adding more colored product to weigh them down. It also gives a nice texture to the brows if your hair are on the thinner side, like mine.

Here is the final brow outcome
See, no powdery mess!

fin
No comments:
Post a Comment